To add a name for an address, follow the steps below:
When you do not know the name for the address, you can use Resolve address button to automatically resolve the address; or, when you do not know the address for a name, you can use Resolve name button to automatically resolve the name. See Address resolution for details.
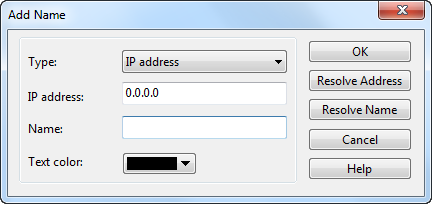
To add a name for a specified address, follow the steps below:
 on the toolbar of Node Explorer window or on the toolbar of some statistical views to open the Add Name dialog box.
 You can also right-click the selected address node, and select Add to Name Table to open the Add Name dialog box.
For auto-resolved address, you can also add the name to Name Table by right-click the auto-resolved name and select Add to Name Table.
| Back |