Chapter 2 - Install, Initialize & Activate Colasoft nChronos
- How to get the Serial Number
- What are the system requirements for Colasoft nChronos
- On which device should we connect nChronos Server to capture packets on the network
Before heading into this lesson, please make sure you fully understand these questions. If not, you are recommended to go back to take a look at last lesson again, or you can email us for help with your specific need.
Install nChronos Server
We are glad to see that you've finally come to the decision to implement nChronos on your network. As you know nChronos consists of two components - nChronos Server and nChronos Console, and please make sure that your server machine meet the system requirements before the installation. You could follow the guidance to install the CentOS. After installation the CentOS, please follow the steps in nChronos Installation Manual.
Activate nChronos Server
To activate your nChronos Server, you could follow the guidance at: https://www.colasoft.com/nchronos/activation.php
Install nChronos Console
Colasoft nChronos Console is a stand-alone component for connecting to nChronos Server to display data.
Before installing nChronos Console, you should:- Make sure your machine meets the minimum system requirements.
- Close all running applications on your machine.
- Uninstall any earlier or trial version of nChronos Console.
- Double-click the installation file of nChronos Console, and then the Setup wizard appears. Click Next.
- On the License Agreement page, review the License Agreement and, if you agree, select the I accept the agreement check box, and then click Next.
- Review the product updates, and then click Next.
- Specify an installation directory. By default, the installation directory is C:\Program Files\Colasoft CSRAS Console 6.x. To specify another directory, use the field provided or click Browse to locate an installation folder. Then click Next.
- Specify the folder name on the Start, and then click Next.
- Specify whether to create a desktop icon and a quick start icon, and then click Next.
- On the Ready to Install page, review the installation information and, if all information are correct, click Install to install nChronos Console to the computer.
- Review the Readme, and then click Next.
- Click Finish to complete the installation. By default, the Launch Program check box is selected to launch the program after the installation.
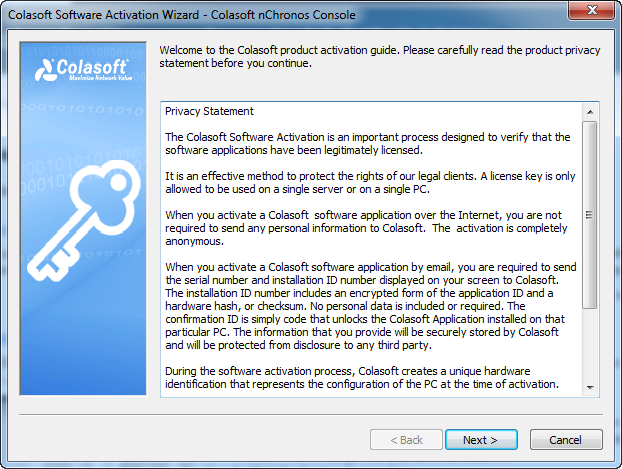
Activate nChronos Console
nChronos Console does not need to be activated since version 6.2.
For old version, after the installation, the Activation Wizard appears to guide you step by step through the activation process.